


Installing a Door Handle: DIY Steps or Call a Pro?
Quick Answer
Installing a door handle is usually a manageable DIY task when it is a like-for-like replacement on a sound interior door and the latch, backset, spindle, fixing holes, and supplied parts all match. Call a professional if the door or frame is damaged, the hardware is incompatible, major drilling or alteration is needed, or the door is security-, fire-, or accessibility-critical.
Definitions
Backset
The distance from the door edge to the centre of the handle or spindle hole. It must match the latch and the handle fitting.
Spindle
The square metal bar that passes through the latch follower and connects the handles on both sides of the door.
Latch
The spring-loaded mechanism in the door edge that retracts when the handle is turned and holds the door closed when released.
Follower
The square opening inside the latch that receives the spindle and transfers handle movement to the latch.
Door thickness
The thickness of the door slab, which determines whether the supplied spindle, screws, and handle rose or backplate can fit correctly.
Installing a Door Handle: DIY Steps or Call a Pro?
A standard mechanical handle on an undamaged interior door can often be replaced yourself, particularly when the new set matches the existing latch and holes. The job is less about force or guesswork than accurate measuring and careful alignment.
This guide covers mechanical interior door handles only. It does not cover smart locks, electrical access systems, security bypass, or specialist door hardware.
- DIY is most suitable for a measured, like-for-like replacement on a sound interior door.
- Check compatibility before buying or removing the old hardware.
- Choose professional help when the door has damage, requires extensive alteration, or serves a specialist purpose.
First, Decide Whether This Is a DIY Job
Before starting, open and close the door as it is now. A handle replacement will not correct a warped door, a loose hinge, a damaged frame, or a door that already catches in the keep.
Proceed only if you can measure carefully, use basic hand tools, and stop if the parts do not fit as expected. Never force a spindle, latch, handle, or screw into place.
- The door slab and frame are sound, with no significant cracks, warping, or damage around the latch.
- The existing fixings are accessible and the replacement hardware has a compatible latch, spindle, and fixing method.
- You have basic tools and are comfortable measuring before drilling.
- The door closes reasonably well before the new handle is fitted.
- Seek help for external, security-sensitive, fire-rated, unusually thick, or accessibility-dependent doors unless you understand the applicable requirements.
Check the Door, Latch, Backset, Spindle, and Handle Measurements
Measure the door thickness first. Then measure the backset from the door edge to the centre of the handle hole. These dimensions help determine whether the latch, spindle, screws, and handle mounting method can work together.
Remove the existing hardware only after noting the latch faceplate size, latch length, follower shape, spindle size, and the position of any fixing holes. Check whether the current handle uses roses, a backplate, through-bolts, or wood screws.
If you are changing the handle style, compare the new fixing pattern with the holes already in the door. A finish or material choice should come after these practical checks, not replace them.
- Record the door thickness and backset.
- Compare latch faceplate dimensions and latch length with the replacement set.
- Check that the follower accepts the supplied spindle.
- Note the spacing and location of existing fixing holes.
- Confirm whether the handle is handed or has a defined lever return direction.
- Make sure the supplied spindle and screws suit the measured door thickness.
Gather the Tools and Confirm the Supplied Parts
Lay out every component and compare it with the manufacturer’s instructions before taking the old handle apart. Keep the door open and supported throughout the work so that the latch cannot accidentally leave you shut inside a room.
A drill is only needed if the new hardware genuinely requires holes that are not already present. Confirm the specified hole size and fixing arrangement before drilling; do not substitute random screws or make a hole larger to compensate for a mismatch.
- Screwdriver suited to the supplied screws
- Tape measure and pencil
- Small level or straight edge
- Drill and correctly sized bits only where required
- Protective eyewear when drilling
- Latch, spindle, two handles, roses or backplates, screws, washers, through-bolts, grub screws, and caps supplied with the set
How to Fit a Door Handle and Latch
Work methodically and retain the old handle and latch until the new set has been fitted and tested. This gives you a useful reference if you need to recheck dimensions or refit the original hardware.
For a compatible standard interior set, install the latch first, then the spindle and handles. Tighten only gradually, checking alignment as you go.
- Remove the existing handles and latch carefully.
- Insert the new latch into the door edge. Typically, the bevel faces the direction the door closes; check the product instructions for reversible or adjustable latches.
- Secure the latch faceplate so it sits flush with the door edge, without overtightening the screws.
- Pass the spindle through the latch follower and centre it.
- Position the handles or backplates on both sides of the door, keeping them square.
- Start all screws by hand before tightening any of them fully.
- Fit through-bolts, washers, or grub screws in the sequence specified for the set.
- Tighten gradually from alternate sides so the mechanism is not pulled out of alignment.
- Stop rather than forcing the parts if the holes, latch, or spindle do not line up.
Align and Test the Handle Before Final Tightening
Testing is part of installation, not a final optional step. Start with the door open, so you can see whether the handle turns smoothly and the latch retracts fully.
Then close the door gently and test from both sides. The latch should enter the keep without scraping, lifting the door, pressing hard on the handle, or forcing the door shut.
- Press each handle several times with the door open and confirm the latch retracts and springs back smoothly.
- Check that both handles sit level and that the spindle does not bind.
- Confirm the rose or backplate sits flush and does not rock.
- Close the door gently and check that the latch enters the keep cleanly.
- Tighten the fixings incrementally, then repeat the open-door and closed-door tests.
- Do not put the handle into normal use if it is loose, stiff, misaligned, or unable to retract the latch reliably.
Warning Signs: Replace Parts or Call a Professional
A poor fit is not something to solve with extra pressure, longer screws, or enlarged holes. If the supplied parts do not match the door, pause and identify the incompatible component before continuing.
Professional help is the safer choice where failure could affect secure closure, safe exit, the integrity of a specialist door, or the structure of the door and frame.
- Recheck or replace parts if the spindle is too short or too long, the follower size differs, the fixing holes do not align, or the latch faceplate cannot sit flush.
- Seek help if the door or frame is damaged, hinges are loose, or the keep is badly misaligned.
- Stop if drilling would weaken the door, intersect existing hardware, or require major modification.
- Use a professional for security-sensitive entrance doors, fire-rated doors, specialist hardware, and accessibility-critical doors.
- If a new handle does not retract the latch, check spindle engagement, handle orientation, latch compatibility, and screw tension once. If the fault remains, stop rather than forcing the mechanism.
Choosing a Compatible Door Handle for the Job
Choose a handle only after confirming its practical fit. For a replacement, match the existing latch and hole pattern where possible. For a new installation or style upgrade, verify the complete fitting requirements before committing to a design.
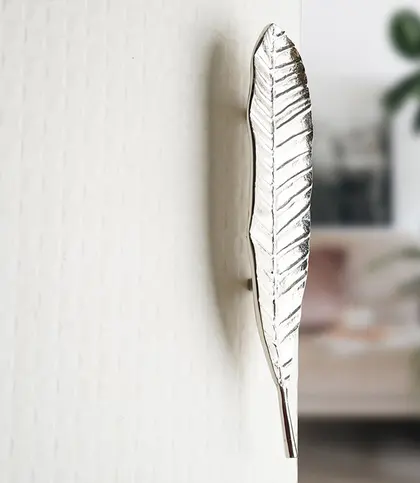
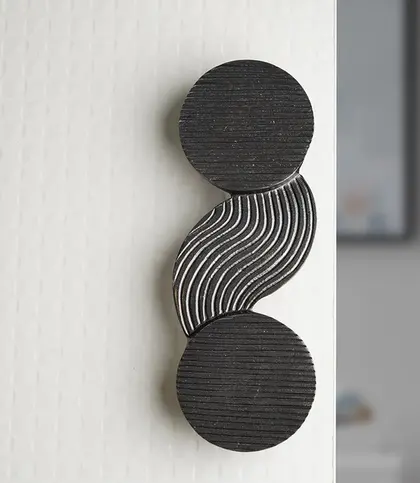
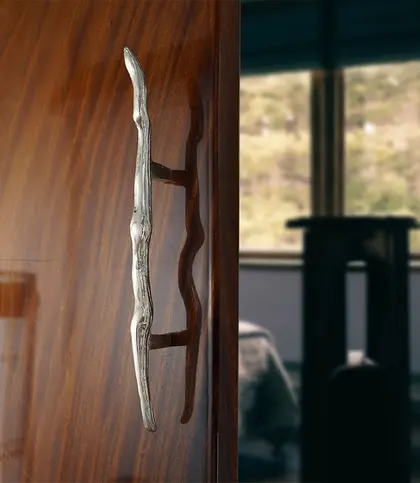
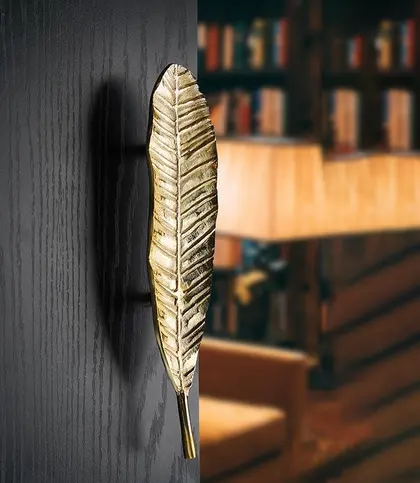
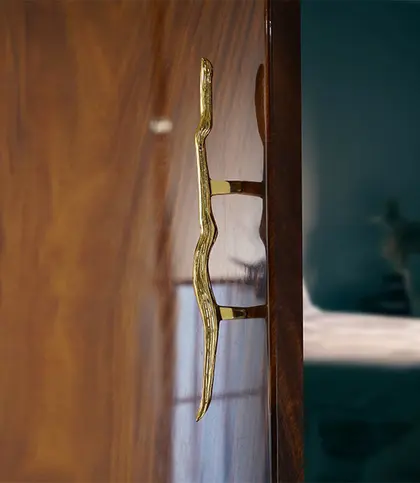
Material and finish can help narrow the look you want after compatibility has been established. Aluminium and brass options offer different visual directions, but neither material, price position, nor handmade construction confirms that a handle will fit a particular door.
A set of two handles can be useful where both sides of an interior door need matching hardware. Check whether the supplied set includes the latch, spindle, and fixings you need, as contents and fitting methods can differ.
- For a straightforward replacement, start with the existing backset, latch type, and fixing pattern.
- For a new installation, confirm every required hole, latch dimension, and supplied component before drilling.
- For an upgrade, keep the existing door preparation only when it matches the new handle’s mounting arrangement.
- Use finish and material as style considerations after compatibility checks are complete.
₹3,598
₹3,890
8%OFF
₹3,421
₹3,698
7%OFF
₹5,489
₹8,999
39%OFF
₹7,199
₹7,999
10%OFF
₹8,099
₹8,999
10%OFF

₹17,999
₹19,999
10%OFF
DIY or Pro? Make the Final Call
Choose DIY when the installation is a straightforward, measured fit on a sound standard interior door and every supplied part matches. Take your time with alignment and test the handle before final tightening.
Choose a professional when you are uncertain about measurements, the door needs repair or substantial modification, specialist hardware is involved, or repeated testing reveals a fault. A handle should operate smoothly, retract the latch fully, remain securely fixed, and let the door close without force before it is put into use.
- Measure first and compare every key dimension.
- Fit only compatible components.
- Test with the door open and closed.
- Escalate rather than improvising when something does not fit or operate correctly.
Final Verdict
- A like-for-like handle replacement on a sound interior door is often an appropriate DIY project when the latch, backset, spindle, fixing holes, door thickness, and supplied parts are compatible.
- Call a professional if the door is damaged, the fit requires extensive drilling or alteration, the door has specialist requirements, or the handle remains stiff, loose, or unreliable after careful checks.
- Before using the door normally, confirm secure fixings, full latch retraction, level handles, and smooth closing without force.
FAQs
What measurements do I need before installing a door handle?
Measure the door thickness and backset, then check the latch faceplate size, latch length, follower shape, spindle size, and existing fixing-hole pattern. Also confirm whether the new handle uses roses, a backplate, through-bolts, or wood screws.
What tools are needed to install a door handle?
Typical tools are a suitable screwdriver, tape measure, pencil, and a small level or straight edge. Use a drill and correctly sized bits only if the confirmed fitting method requires new holes, and wear protective eyewear when drilling.
How do I fit a door handle and latch?
Remove the old hardware, fit the compatible latch into the door edge, pass the spindle through the follower, position the handles on both sides, and start all fixings by hand. Align the handles, tighten gradually, and test the mechanism before final tightening.
Which way should the door handle face?
The handle should be fitted so it operates naturally from each side and sits level. For the latch, the bevel typically faces the direction the door closes, but follow the specific instructions if the latch is adjustable or reversible.
How do I test a door handle after installation?
With the door open, operate both handles several times and check that the latch retracts fully and returns smoothly. Then close the door gently and test it from both sides, ensuring the latch enters the keep without scraping, pressure, or force.
Why is my new door handle not retracting the latch?
Check that the spindle is fully engaged with the follower, the handles are correctly oriented, the latch and spindle are compatible, and the fixing screws are not overtightened. If those checks do not resolve the issue, stop and seek compatible parts or professional help.
When should I hire a professional to install a door handle?
Hire a professional if the door or frame is damaged, the door is difficult to close, the new hardware does not match existing holes or latch dimensions, significant drilling or chiselling is needed, or the door is external, fire-rated, security-sensitive, or accessibility-critical.