


Homemade Diya: Safe Materials, Methods and Placement
Quick Answer
Decide first whether your homemade diya is decorative-only or intended to hold oil and a flame. For lit use, choose only properly kiln-fired clay, intact heat-rated ceramic, or another vessel explicitly rated by its maker for direct oil-and-wick flame use. Unfired, sun-dried, air-dry, or merely hardened clay, along with paper, cardboard, salt dough, fabric and dried plant materials, is decorative-only and must never be lit.
Definitions
Lit-use diya
A diya made from properly kiln-fired clay, intact heat-rated ceramic, or another vessel explicitly rated by its maker for direct oil-and-wick flame use, used with appropriate supervision.
Decorative-only diya
A craft diya intended for display without oil, a wick, or an open flame. Combustible materials, unfired clay and heat-sensitive finishes belong in this category.
Heat-safe surface
A stable, non-combustible surface or holder that can tolerate the heat of the diya and helps contain minor oil spills.
Curing or drying
The process of allowing a shaped material or finish to harden fully before handling. Drying or curing does not make unfired or air-dry clay suitable for a flame.
Homemade Diya: Choose the Use Before the Material
The first decision is simple: will the diya remain a display craft, or will it hold oil and an open flame? Decorative-only diyas can use many lightweight craft materials. A diya intended for lighting needs a much narrower choice of vessel, finish and placement.
For lit use, choose only properly kiln-fired clay, intact heat-rated ceramic, or another vessel whose maker explicitly rates it for direct oil-and-wick flame use. It should have a stable base, a defined oil well and no cracks. Do not assume that a handmade, air-dried or vaguely described ceramic-style vessel is suitable for a flame.
Paper, cardboard, salt dough, unfired clay, air-dry clay, fabric, dried leaves, flowers and similar combustible or heat-sensitive materials are for display only. Children can help shape or decorate a decorative diya with close adult supervision, but an adult should handle oil, lighting, extinguishing and any hot diya.
- Choose decorative-only materials whenever direct-flame suitability is uncertain.
- Use a plain, stable vessel that is properly kiln-fired, heat-rated or explicitly approved for direct oil-and-wick flame use.
- Keep children, pets and loose décor away from a lit diya.
Compare Homemade Diya Materials
Hand-shaped clay can create a traditional form, but an unfired or merely dried clay diya is decorative-only. For a hand-shaped diya to be considered for lit use, use clay suitable for kiln firing and complete the proper firing process. Inspect the fired piece for cracks, chips and weak edges before use.
Air-dry clay is convenient for beginners to shape, but it is decorative-only for this purpose. Even when it feels fully hard, air-dry clay may remain porous or change with oil and heat; drying does not make it suitable for a wick and open flame.
Properly kiln-fired clay or intact heat-rated ceramic can be a more appropriate base for a lit diya when the vessel is sufficiently substantial and explicitly suitable for the intended direct oil-and-wick flame use. Avoid thin, chipped, cracked or unknown pieces. Metal or stone vessels may be non-combustible, but use them only if their maker supports the intended use and they securely contain oil.
Salt dough, paper, cardboard, plaster-like craft mixtures, foam, plastic, fabric and uncured clay should never hold an open flame. Reserve these materials for unlit display diyas.
- Heat rating: Is the vessel explicitly intended for direct oil-and-wick flame use?
- Oil retention: Does the oil well hold a small amount of oil without seepage?
- Stable base: Does the diya sit flat without rocking?
- Complete preparation: Has kiln-fired clay been properly fired, and is the vessel fully dry and intact?
- Finish compatibility: Are paint, glaze or sealers appropriate for the intended use?
- Ease of inspection: Can you clearly spot chips, cracks, moisture and soft areas?
Three Beginner-Friendly Ways to Shape and Set a Diya
Method one is a hand-shaped clay diya. Knead a small portion of clay suitable for kiln firing, make a thick oval or round base, and press a shallow oil well in the centre. Pinch one side into a modest spout, then smooth visible cracks and let the piece dry evenly on a flat surface before following the appropriate kiln or studio firing process. Until it has been properly fired and is otherwise suitable for direct flame use, treat it as decorative-only.
Method two uses a simple shallow mould with air-dry craft clay. Press the clay evenly into the mould, lift it out carefully, smooth the rim and follow the product instructions for full curing. This method is suitable for a decorative-only diya; do not add oil, a wick or a flame.
Method three is a dough or paper diya for display. It can be shaped, coloured and arranged as a craft project, but it should never receive oil, a wick or a flame. An LED tea light may be a suitable display alternative where its product instructions allow it.
Drying time depends on the material, wall thickness, humidity and the manufacturer's guidance. Wait until a decorative piece is hard and dry throughout, not simply dry at the surface. Do not speed drying with direct high heat, which can cause cracking, warping or uneven setting. Air drying is not a substitute for kiln firing.
- Make the base thicker than the rim so the form is less likely to wobble.
- Keep the oil well shallow enough to inspect easily, with a clear spout for a wick if the vessel will be properly kiln-fired for lit use.
- Dry each piece on a level surface and turn it only when the material instructions permit.
- Keep any piece that develops cracks, soft spots or distortion as display-only, or discard it.
Finishes and Decorations: What Can Stay Near the Flame?
For a diya that may be lit, the simplest finish is often a plain, intact surface on a properly kiln-fired or heat-rated vessel. Leave the oil well, spout, rim and the area directly above the flame clear of decoration.
Glitter, paper, fabric, dried flowers, leaves, ribbons, foam, plastic and unknown varnishes do not belong near oil, a wick or an open flame. Even secure-looking decorations can change when exposed to heat or oil.
Paints and sealers can affect heat and oil resistance. Use them only when their instructions specifically support the intended use, allow them to cure completely and keep them outside the flame zone. Painted or sealed air-dry clay remains decorative-only.
Do not light a diya with a surface that is tacky, soft, peeling, cracked, strongly solvent-smelling or incompletely cured. When you want a decorative look as well as a lit diya, make two versions: one embellished display diya and one plain vessel suitable for direct oil-and-wick flame use.
- Keep all decoration away from the oil well, wick, rim and flame path.
- Do not rely on an unspecified varnish or sealant to make a craft material safe for flame use.
- Inspect finishes after every use, since heat and oil can change their condition.
Pre-Use Test: Stability, Heat, Oil, and Wick Placement
Before a first lighting, inspect the diya in bright light. Look for hairline cracks, chips, sharp edges, moisture, soft areas and a base that rocks on a flat surface. Any of these can make it unsuitable for lit use.
Test oil containment before adding a wick. Put a small amount of the intended oil into the well, set the diya on a non-combustible tray and leave it briefly. Check underneath for seepage, staining or oil spreading beyond the well. This is a basic screening step, not a guarantee of safety.
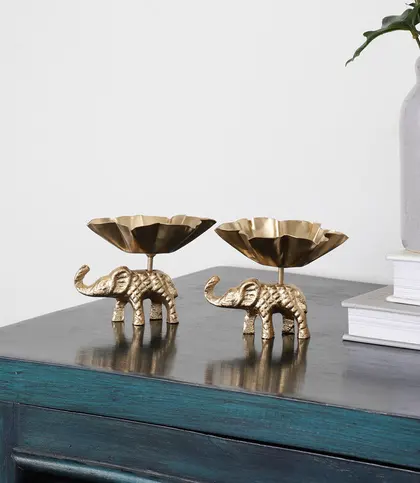
Fit the wick so that its lower portion is securely immersed in the oil while a short lighting end remains exposed at the spout. Keep the exposed end clear of the outer rim, paint and nearby decoration. Put the diya in its final holder or tray and make sure the flame area has open space above and around it. A compact iron holder such as the Warm Form Tea Light Candle Holder - Set Of Two can help define a display spot, but it does not make an unsuitable homemade vessel safe to light.
For a first burn, keep the test short and supervise it continuously. Stop immediately if the vessel leaks, cracks, smokes unusually, becomes unstable or transfers excessive heat to its support. Never touch, carry or reposition a lit or recently extinguished diya; let it cool fully before inspecting it.
- Check that the diya sits level before and after oil is added.
- Use only a small initial amount of oil for the first screening test.
- Keep a clear route for extinguishing without moving the hot diya.
- Treat any leak, crack or unusual heat as a reason to stop using the piece as a lit diya.

₹499
₹2,000
75%OFF
Safe Placement, Lighting, Extinguishing, and Storage
Place a lit diya on a level, heat-safe, non-combustible tray or holder in a sheltered, stable spot. A living room, balcony or entryway can work only when it is protected from drafts and is not part of a busy walkway. Keep it well away from curtains, books, paper, furniture edges, hanging fabrics, plants, aerosols, children and pets.
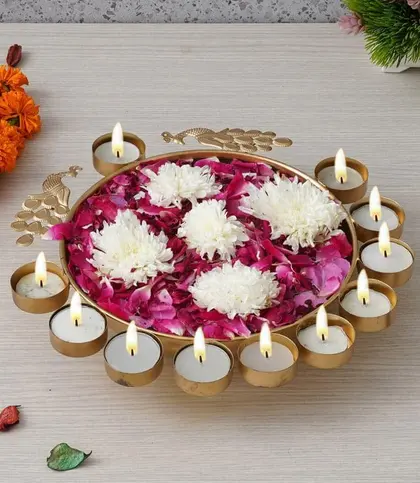
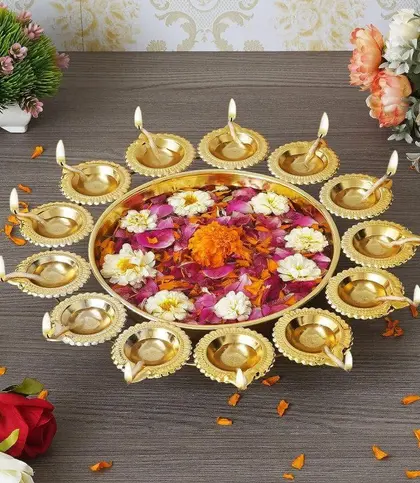
Leave clear space between individual flames rather than crowding several diyas together. The Gol Gajendra Tealight Candle Holder - Set Of Two can help keep individual display spots separated when the complete arrangement sits on a stable, heat-safe surface. A Mantra Urli With Diya or Decorative Urli With Diya Holder can provide a defined metal base for a decorative arrangement, but check that the diya remains level and that the flame zone is unobstructed.
Light with a long match or lighter while keeping loose sleeves, hair and hands away from the wick. Never leave an open flame unattended. Do not move a diya while it is lit, even if you notice a placement issue; extinguish it in a controlled way first.
Extinguish the flame with a candle snuffer or another controlled method that does not require carrying the diya. Do not pour water into hot oil, as it may splatter. Once everything has cooled completely, remove oil residue, inspect the diya for damage and store it dry in a padded container away from paper, fabric and combustible decorations.
- Avoid ledges, floor-level positions and narrow furniture edges where the diya can be knocked over.
- Keep flames separated and leave room to light and extinguish each one safely.
- Use only sheltered locations with no strong breeze or fan draft.
- Allow the vessel and remaining oil to cool completely before cleaning or storage.
₹399
₹699
43%OFF
₹449
₹1,199
63%OFF
 FastDelivery
₹562
₹1,299
57%OFF
Homemade Diya Safety Checklist
Run through this checklist every time you decide whether a handmade diya should be lit. If even one answer is no or uncertain, use it as decoration only or do not use it.
- Is the vessel properly kiln-fired clay, intact heat-rated ceramic, or explicitly rated by its maker for direct oil-and-wick flame use?
- Is it fully prepared as required, with no cracks, chips, moisture or soft areas?
- Does it sit level and contain oil without leaking?
- Are the oil well, wick, rim and flame path free from paint, glitter and decoration?
- Is it on a stable, non-combustible holder or tray with clear space around it?
- Can an adult supervise it continuously and extinguish it without moving the hot diya?
Prefer a ready-made diya?
If you decide against making a diya, browse ready-made options and follow their intended-use and fire-safety guidance. Keep all flames away from paper, fabric, and other combustible decorations.

Final Verdict
- For a homemade diya you intend to light, choose only properly kiln-fired clay, intact heat-rated ceramic, or another vessel explicitly rated by its maker for direct oil-and-wick flame use.
- Unfired, sun-dried, air-dry or merely hardened clay is decorative-only, even when it feels firm and dry.
- Keep finishes and embellishments away from the wick and oil well, test oil containment cautiously on a non-combustible surface, and supervise every flame continuously.
- If the diya is cracked, damp, unstable, leaking or made from combustible craft material, do not light it.
FAQs
Which materials are safe for making a homemade diya?
For a diya that may be lit, use only properly kiln-fired clay, intact heat-rated ceramic, or another vessel explicitly rated by its maker for direct oil-and-wick flame use. The vessel must also hold oil securely and sit stably. Unfired, sun-dried and air-dry clay, along with paper, cardboard, salt dough, foam, plastic, fabric and uncured craft clay, are decorative-only.
What is the easiest homemade diya method for beginners?
A decorative air-dry clay, paper or dough diya is an easy beginner craft, but it must never be lit. For a handmade diya intended for flame use, shape clay suitable for kiln firing into a thick base with a shallow oil well and spout, then have it properly kiln fired before considering use. If that process is not available, choose a ready-made vessel explicitly rated for direct oil-and-wick flame use.
How long should a homemade diya dry before use?
There is no universal drying time. It depends on the material, wall thickness, humidity and the manufacturer's instructions. Wait until a decorative craft diya is fully hard and dry throughout, not merely dry on the outside. Drying does not make unfired or air-dry clay suitable for a flame; clay intended for lit use must complete the appropriate kiln-firing process.
Can I paint or seal a homemade diya before lighting it?
Use paint or sealer only if its instructions specifically support the intended heat and oil exposure. Keep every finish away from the oil well, wick, rim and flame path. Painted or sealed air-dry clay remains decorative-only. If a finish is tacky, peeling, cracked, soft or strongly solvent-smelling, do not light the diya.
Where should a homemade diya be placed safely?
Place it on a level, non-combustible, heat-safe tray or holder in a sheltered location with clear space around it. Keep it away from curtains, paper, furniture edges, plants, aerosols, pets, children, drafts and walkways. Never place a lit diya where it could be knocked over.
How do I test a homemade diya before lighting it?
Inspect it for cracks, dampness, soft areas and wobbling. Add a small amount of the intended oil without a wick and check for leaks on a non-combustible tray. Then position the wick with its lower portion in the oil and a short lighting end exposed at the spout, clear of decorations. Carry out a short, closely supervised first burn and stop if it leaks, cracks, smokes unusually or becomes unstable.
How should I extinguish and store a homemade diya?
Use a candle snuffer or another controlled method without carrying the lit diya. Do not pour water into hot oil. After the diya and oil have cooled fully, remove residue, inspect for damage and store the vessel dry in a padded container away from combustible decorations.