

Quick Answer
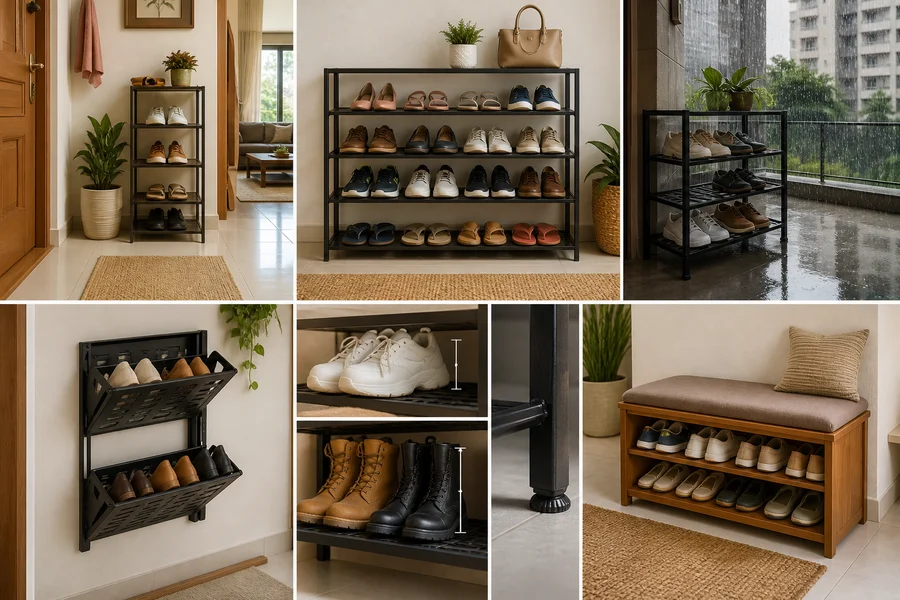
The best shoe rack for home is one that fits the available floor or wall space, stores your actual footwear mix without crowding, and suits the room’s dust, humidity, cleaning and safety needs. A slim rack may work for a compact entrance, while a larger open, closed, ventilated or bench-style option may suit another room depending on placement and use.
Definitions
Usable capacity
The number of pairs that can be stored comfortably without crushing footwear, blocking ventilation, or making everyday access difficult.
Ventilated shoe rack
A rack with open sides, slatted shelves, mesh, or other airflow-friendly construction that can help moisture dissipate.
Wall-mounted shoe rack
A footwear storage unit fixed to a wall rather than standing on the floor; its suitability depends on wall strength, anchors, installation, and load limits.
Bench-style shoe rack
A storage unit that combines footwear compartments with a seat for putting on or removing shoes near an entryway.
Shelf clearance
The vertical and horizontal space available for footwear inside or on each rack level.
Best Shoe Rack for Home: Start With the Decision, Not the Design
There is no single best shoe rack for every Indian home. The right choice depends on where it will sit, how many pairs need regular storage, the size of the footwear, how much dust or moisture the area receives, and how easily the rack can be cleaned and used every day.
An open rack offers quick access and visible storage. A closed unit can make an entrance look tidier, while a ventilated design may be useful for footwear that needs time to air out. Stackable units can suit changing needs, wall-mounted storage can preserve floor area, and a bench-style design can add a useful seat by the door.
A compact entryway may call for a slim footprint, whereas a family bedroom, utility area or covered balcony may need a different balance of capacity, airflow and material care.
- Choose by usable space, not the space that looks empty from a distance.
- Estimate capacity from actual shoes, not household size alone.
- Treat ventilation, maintenance and stability as essentials rather than extras.
Shoe Racks

₹2,575
₹5,999
57%OFF

₹7,884
₹17,999
56%OFF
₹3,549
₹5,400
34%OFF

₹7,884
₹17,999
56%OFF

₹3,249
₹4,900
34%OFF

₹7,884
₹17,999
56%OFF

₹4,049
₹6,200
35%OFF
₹1,299
₹1,792
28%OFF
1. Measure Available Floor and Wall Space Before Shopping
Measure the width, height and depth of the proposed location. Then check what happens around it: door swing, walking space, skirting boards, sockets, switches and nearby furniture can all affect whether a rack remains convenient after installation.
Do not fill every centimetre. Leave enough room to open doors or drawers, remove shoes comfortably, reach upper shelves and sweep or wipe around the unit. In a passage or narrow entryway, external depth is often as important as width.
For a wall-mounted footwear option, assess the usable wall area as well as the wall construction and fixing points. The wall, anchors and installation method must be suitable for the intended load and follow the manufacturer’s guidance.
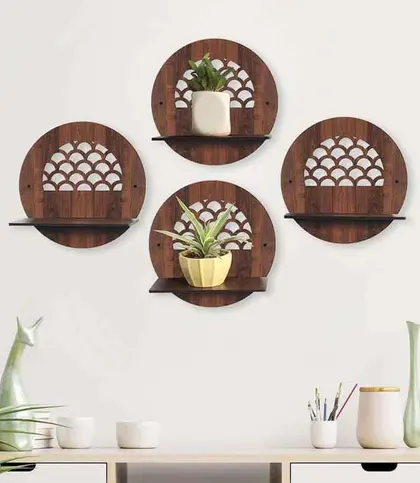
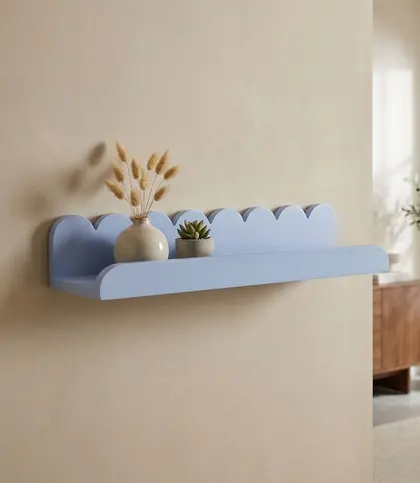
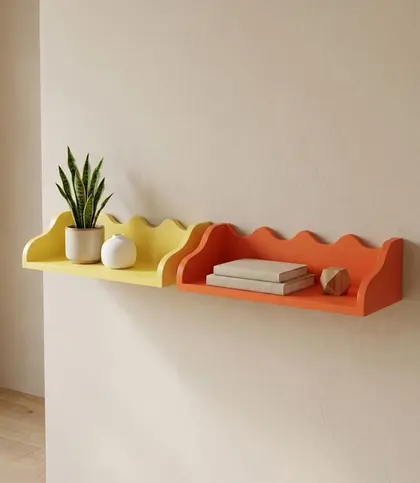
General wall-mounted shelves can be considered for compact homes, but they are not automatically shoe racks. Verify each shelf’s dimensions, load limit, fixing requirements and suitability for footwear before using it for shoe storage.
- Entryway: protect walking clearance and door movement.
- Bedroom: consider access around beds, wardrobes and drawers.
- Utility area or balcony: allow room for cleaning and avoid locations exposed to splash or direct rain.
- A slim format can be worth considering where a full-depth rack would obstruct circulation.

₹3,549
₹5,400
34%OFF
Wall Mount Shelves

₹1,472
₹2,459
40%OFF
₹1,099
₹2,999
63%OFF
 FastDelivery
₹1,424
₹2,419
41%OFF
₹1,306
₹1,375
5%OFF
₹1,971
₹2,075
5%OFF

₹747
₹1,399
47%OFF

₹1,119
₹1,537
27%OFF

₹522
₹899
42%OFF
2. Match Rack Capacity to Household Footwear and Guest Use
Start by counting the footwear used regularly. Add occasional pairs, children’s shoes, slippers, sports shoes, heels, boots and a modest allowance for regular guests. This gives a more useful starting point than choosing a rack based only on the number of residents.
Listed pair capacity is only a guide. It changes with shoe size, shelf spacing, whether pairs sit side by side or staggered, and whether bulky footwear takes up more than one expected space. A rack that is tightly packed may be harder to use and less practical to keep clean.
Choose a little spare capacity where possible. Daily footwear can remain accessible near the entrance, while occasional pairs may be better placed in a bedroom or another suitable storage area.
- Compact: best for a limited daily rotation.
- Small to medium: may suit a couple or a small household, depending on footwear size.
- Large or tall: useful for family storage only when access, stability and anchoring are suitable.
- Keep boots and bulkier sports shoes in the estimate from the beginning.
 FastDelivery
Sold Out
₹1,424
₹2,999
53%OFF
3. Compare Shoe Rack Types by Home Layout and Use
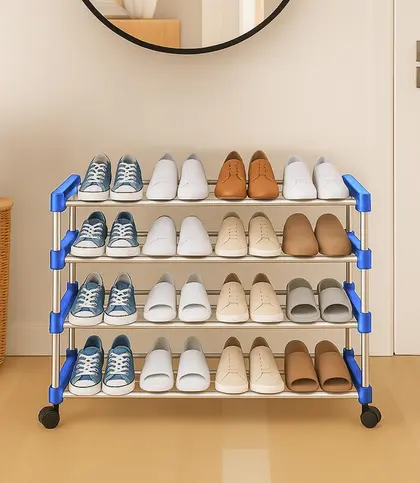
Open racks are straightforward for everyday access and can support airflow around shoes, but footwear stays visible and is more exposed to dust. They can suit a utility area or a regularly cleaned entrance when the location remains dry.
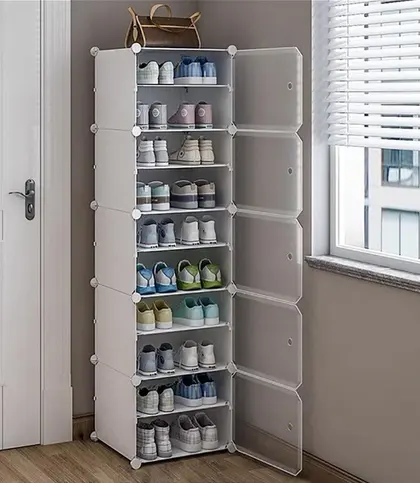
Closed racks offer a more visually contained look and can reduce direct dust exposure. They still need sensible moisture management: avoid storing wet footwear inside, and consider whether the construction provides adequate airflow for the way your household uses it.
Ventilated racks may be helpful in humid conditions or when shoes often return damp, provided the rack is easy to wipe and is kept away from rain and standing water. Stackable racks can offer flexibility as storage needs change, but each unit must remain aligned and stable.
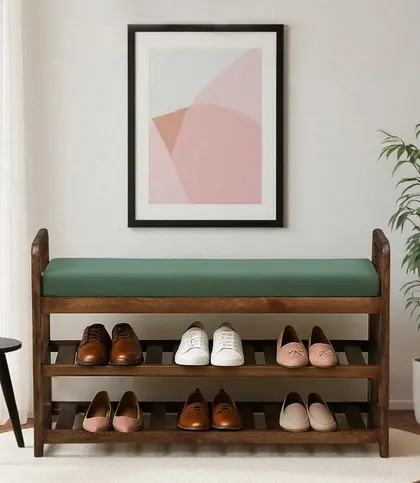
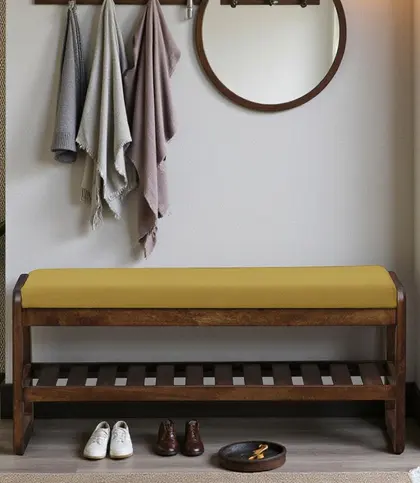
Wall-mounted shoe racks free up floor area in compact entrances, but are appropriate only with a suitable wall, correct anchors and careful load assessment. A bench-style shoe rack can be useful for households that want a seat for putting on shoes, provided its footprint and maintenance needs work for the room.
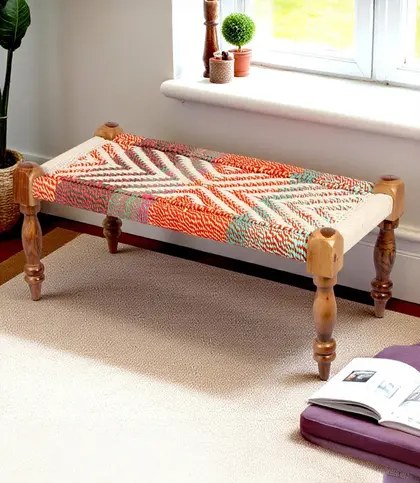
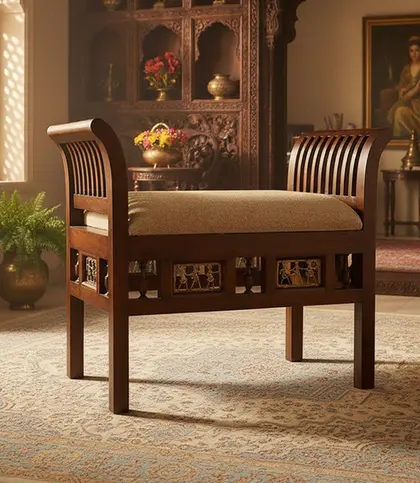
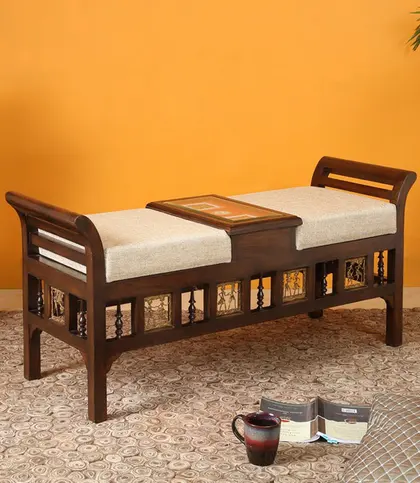
An entryway bench with general storage can also be a seating alternative near the door. However, if product details do not identify dedicated shoe compartments, do not treat that bench as a shoe rack; confirm where footwear will be stored separately.
- Entryway: compare slim, wall-mounted and bench-style formats by clearance.
- Bedroom: a visually contained rack may be preferable when shoes are stored away from the door.
- Utility area: prioritise easy access, airflow and wipe-clean construction.
- Balcony: use only a protected placement with low rain, splash and sun exposure.

₹10,374
₹29,999
65%OFF
Benches

₹13,103
₹17,999
27%OFF
₹3,949
₹6,800
42%OFF

₹4,739
₹8,400
44%OFF

₹12,499
₹34,999
64%OFF

₹13,103
₹17,999
27%OFF
₹20,294
₹31,499
36%OFF

₹9,567
₹17,000
44%OFF
₹35,774
₹55,599
36%OFF
4. Choose Shelf Dimensions for Your Footwear Mix
Check the usable shelf depth, width and height rather than relying on a category label or a listed pair count. Sandals and slippers need relatively little space, while formal shoes, sneakers and sports shoes may require greater depth or width.
High-top trainers and boots need extra vertical clearance. Heels may also need a shelf arrangement that prevents snagging or unstable placement. Do not assume each level can hold every type of footwear in the household.
Consider how shoes will sit on the shelf: straight, angled or staggered. Any overhang can make a narrow passage feel tighter and may make the unit less stable or harder to clean.
- Measure the largest pair before comparing shelf dimensions.
- Check whether bulky shoes fit without compressing or bending them.
- In tight entrances and balconies, compare the rack’s full external depth with the clear walking path.
- Verify dimensions and practical capacity on each individual product.
₹8,549
₹18,999
55%OFF
5. Select Materials for Indian Dust, Humidity, and Monsoon Moisture
Material should match the location and your cleaning routine. Metal and plastic can be practical for frequent wiping and everyday footwear storage, but inspect the finish, joints, corrosion resistance and overall rigidity rather than assuming all versions perform in the same way.
Wood and mango wood can give a warmer, furniture-like appearance for an entryway or bedroom. Their suitability still depends on finish quality, moisture exposure and regular care. Avoid prolonged dampness, splash and direct rain regardless of the material chosen.
Engineered wood needs particular attention to finished edges and exposure to moisture. Bamboo may appeal to buyers looking for a natural material, but its finish, ventilation and protection from sustained dampness should also be checked.
Open or slatted construction may help footwear air out when placement is dry and shoes are not put away wet. Closed construction calls for more attention to airflow and moisture before storage.
- Dust-prone areas: favour surfaces and corners that can be wiped easily.
- Humid rooms: avoid trapping damp footwear in a poorly aired unit.
- Utility areas and balconies: consider rain, splash, drainage and harsh sunlight before selecting any rack.
- Inspect finish quality and construction alongside the headline material.
₹3,549
₹5,400
34%OFF
₹6,887
₹15,999
57%OFF
6. Check Stability, Safety, and Maintenance Before Buying
A shoe rack should sit level and resist wobbling when footwear is removed or returned. Check that the frame, shelves and joints appear suitable for the intended load, and avoid overloading shelves simply because there is empty-looking space.
Look for smooth edges, secure joints and stable doors or drawers. Tall, narrow and stacked units can need extra care, especially in active households with children or pets. Keep heavier shoes on lower levels where possible.
For wall-mounted and tall units, use suitable fixings and follow manufacturer guidance on installation and load limits. A surface that can be wiped without trapping dust in awkward corners will make routine maintenance simpler.
For a bench-style shoe rack, assess seat stability and the stated weight suitability. If it includes upholstery, consider whether the fabric location and cleaning needs suit an entrance where shoes and outdoor dust are handled.
- Test or inspect for wobble before loading the rack fully.
- Keep the heaviest footwear lower down.
- Avoid loose, uneven stacks of separate units.
- Choose a design that allows access beneath or behind it for cleaning where needed.
7. Compare Capacity, Durability, Maintenance, and Price
Compare shoe racks by what you can realistically use, not appearance alone. A basic rack can be suitable for daily storage if its shelves fit the footwear, the structure is stable and its surfaces are manageable to clean. More furniture-like designs may offer a different material or visual finish, but they still need to meet the same practical checks.
A higher price does not automatically establish greater durability. Compare external dimensions, usable shelf dimensions, realistic pair capacity, finish, airflow, stability, anchoring needs and cleaning effort before deciding whether extra features are worthwhile.
Price per usable pair can be a helpful comparison only after checking whether the stated capacity works for your own shoe sizes and mix. A rack that claims more space but cannot accommodate boots or larger trainers may offer less useful storage than expected.
- Check the usable shelf area, not only the number of tiers.
- Compare material and finish with the intended room conditions.
- Factor in routine wiping, dust removal and moisture management.
- Use product details as examples of material and use-case options, not as universal rankings.
Which Shoe Rack Should You Choose for Your Home?
For a small entryway, prioritise a slim or wall-mounted shoe rack after measuring the clear passage and confirming wall suitability. For family footwear, prioritise accessible shelf spacing, sturdy construction and some spare capacity over a compact appearance alone.
In a dust-prone entryway, compare visually contained or easy-to-wipe options while ensuring footwear is not stored damp. In a monsoon-prone utility area or protected balcony, prioritise ventilation, easy cleaning and a placement away from direct rain, splash and drainage issues.
For a bedroom, a quieter-looking, visually contained design may be useful when shoes are stored away from the entrance. Where people need a place to sit while putting on shoes, a dedicated bench-style shoe rack can work well if its footprint, stability and upholstery care are appropriate.
- Small entrance: preserve circulation first.
- Family home: choose accessible usable capacity and a robust base.
- Dust-prone location: favour easy cleaning without neglecting airflow.
- Humid location: manage moisture before storing shoes.
- Need seating: consider a stable bench-style unit only when space permits.
Final Shoe Rack Buying Checklist
Choose the option that meets the non-negotiables first: it should fit safely, accommodate the footwear you actually own and suit the conditions of its intended room. Once those points are satisfied, compare appearance, finish and added features.
Taking this sequence prevents a common mistake: buying a rack that looks right but is too deep for the passage, too short for boots, too crowded for daily access or too difficult to maintain in a dusty or humid location.
- Measure floor or wall space, door swing, access and cleaning clearance.
- Estimate capacity for daily pairs, occasional footwear, bulky shoes and guests.
- Check shelf clearance against the largest footwear type.
- Match the format to visibility, ventilation, access and room use.
- Match material and finish to dust, humidity, monsoon exposure and cleaning habits.
- Review stability, edges, load distribution and any wall anchoring needs.
- Compare price only after assessing usable capacity and expected maintenance.
Final Verdict
- The best shoe rack for home is a scenario-based choice, not a universal product type.
- Measure the location first, estimate realistic footwear capacity, then check the largest shoes, dust and moisture exposure, material, stability and maintenance needs.
- Choose a slim or wall-mounted shoe rack for a compact entrance only when clearance and wall suitability are confirmed; choose larger, ventilated, closed or bench-style storage when its room-specific advantages outweigh its footprint and care requirements.
- Compare final options by usable capacity and safe everyday function before appearance or added features.
FAQs
How should I measure space for a shoe rack?
Measure the available width, height and depth, then account for door swing, walking clearance, skirting boards, sockets and nearby furniture. Leave enough room to access shelves and clean around the rack rather than using every available centimetre.
How many pairs should a home shoe rack hold?
Count regularly used pairs first, then add occasional footwear, children’s shoes, slippers, sports shoes, boots and a modest guest allowance. Choose spare capacity because stated pair counts can vary with shoe size and shelf spacing.
Which shoe rack is best for a small entryway?
A slim or wall-mounted shoe rack may suit a small entryway because it can preserve floor area. Confirm that the rack will not obstruct the passage, and ensure any wall-mounted unit has suitable wall support, anchors and installation.
Are open or closed shoe racks better for Indian homes?
Neither is always better. Open racks offer quick access and can support airflow but leave shoes visible and exposed to dust. Closed racks look more contained and can reduce direct dust exposure, but need sensible ventilation and moisture management.
Which shoe rack material is easiest to clean?
Plastic and metal surfaces can be convenient for routine wiping, although finish quality, joints and construction still matter. Wood, engineered wood and bamboo may need more placement-specific care, especially where moisture or splash is possible.
What shelf size fits boots and sports shoes?
Check the product’s usable shelf depth, width and vertical clearance against your largest boots or sports shoes. These styles often need more space than sandals or slippers, so do not rely only on a listed pair capacity.
Is a wall-mounted shoe rack safe for home use?
It can be suitable when the wall is appropriate for the load, the correct anchors are used, installation is done properly and the manufacturer’s load guidance is followed. Avoid treating all wall types or fixing points as interchangeable.
How do I compare shoe rack capacity and price?
Compare external and usable dimensions, realistic pair capacity for your footwear, material and finish, ventilation, stability, cleaning effort and room suitability. Assess price only after confirming that the rack can store your shoes comfortably and safely.
Keep exploring